




1/
You Will Need
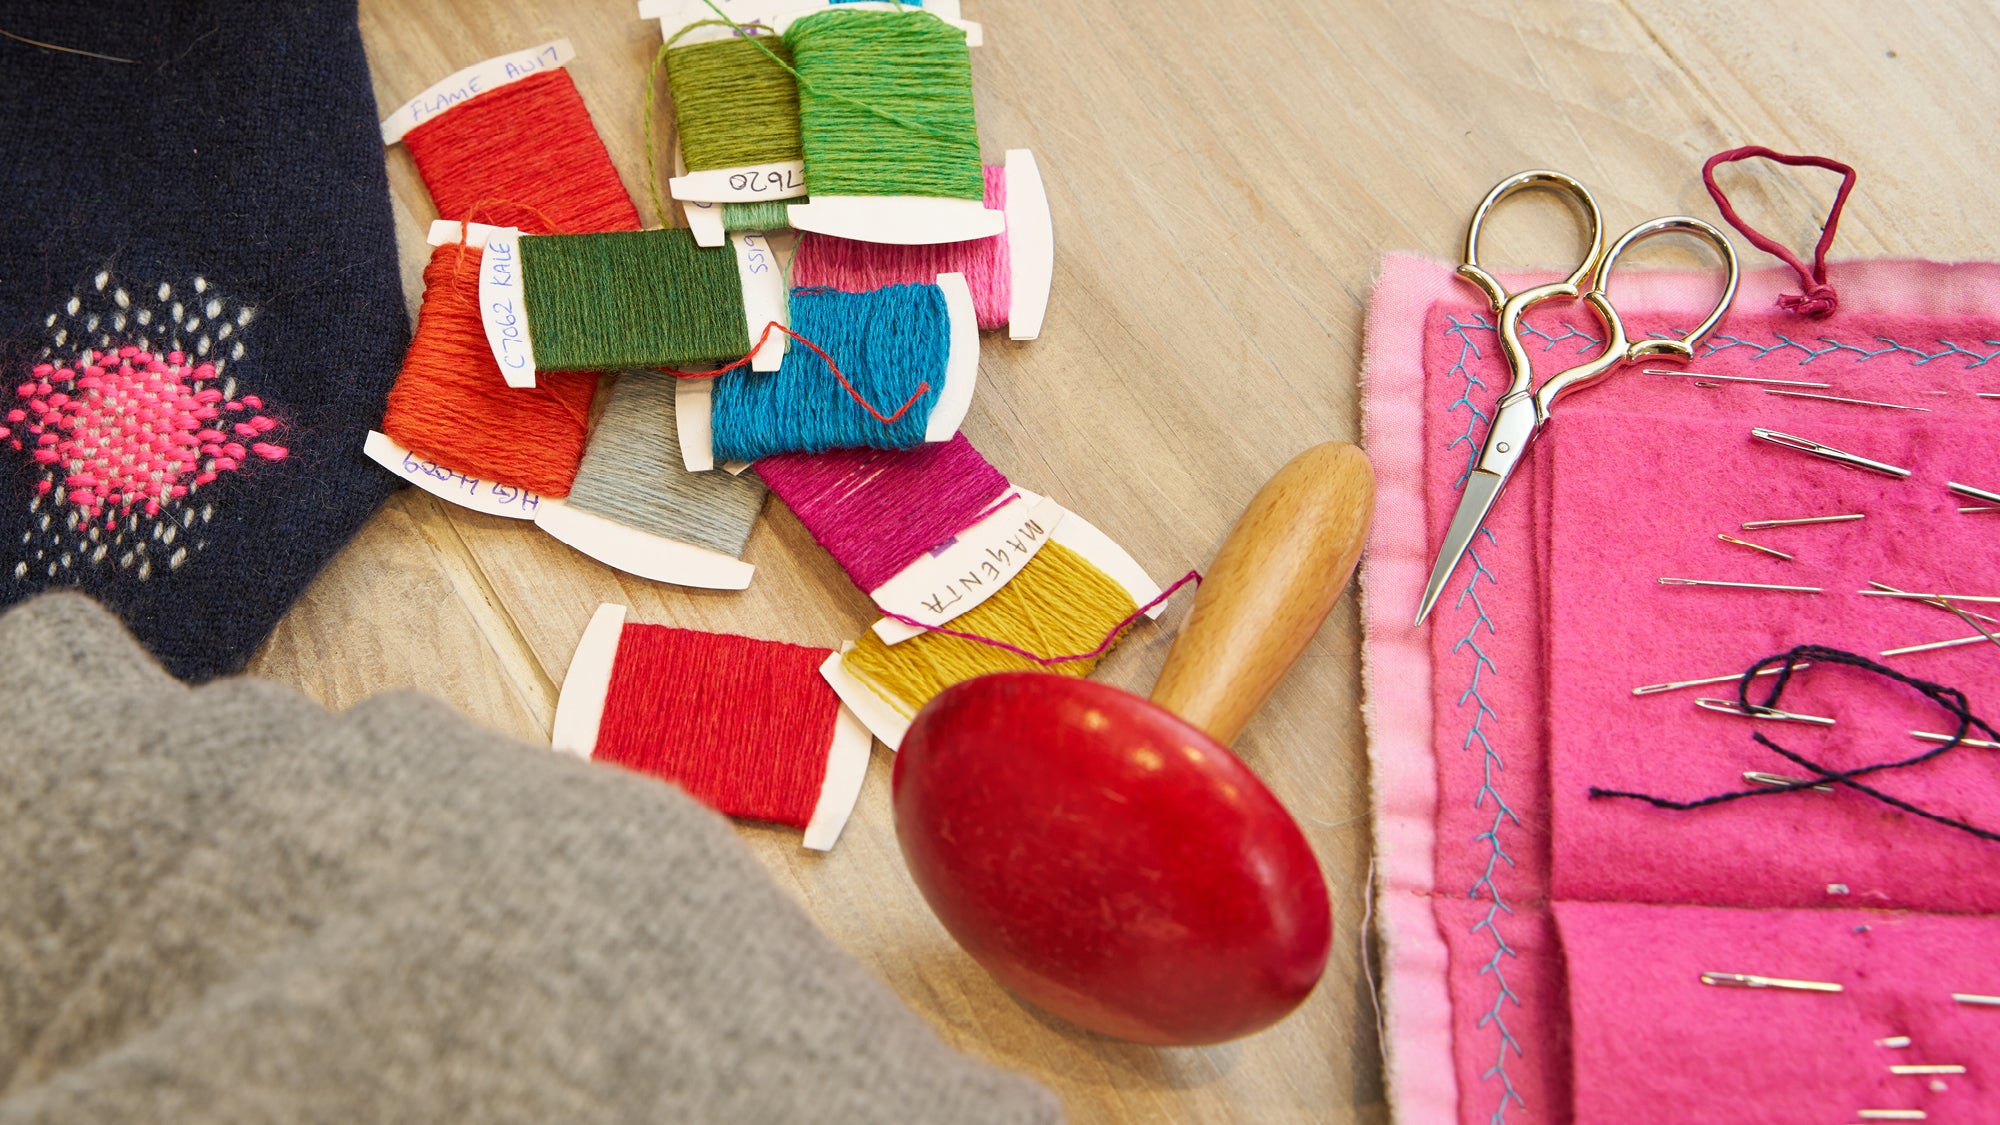
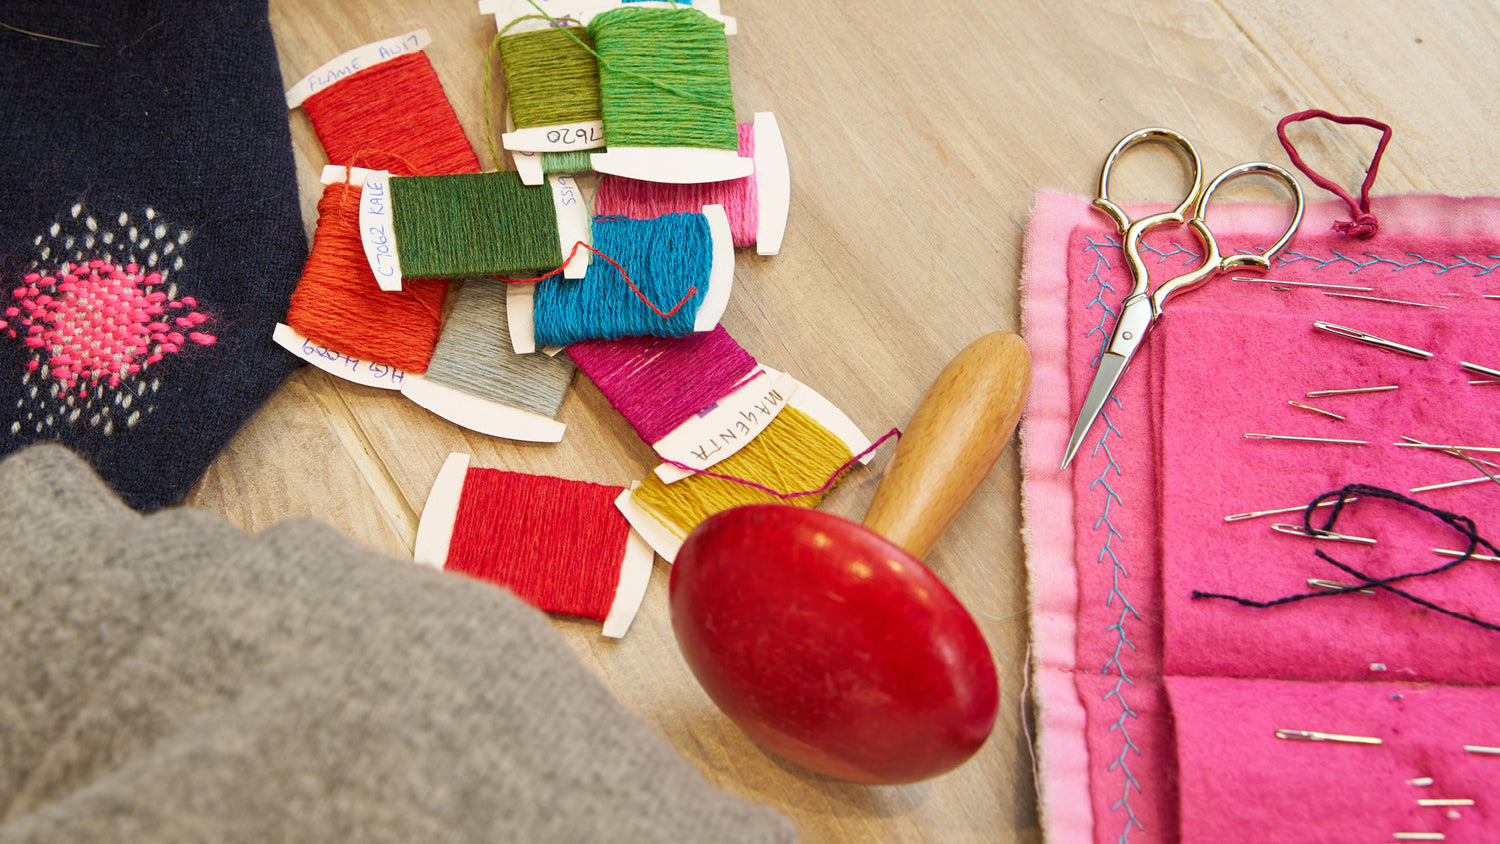
Wool to mend with, the same weight as the wool of the garment you are mending
A needle
A darning mushroom or something to hold the tension as you mend
A band to secure your fabric
A small pair of scissors or snips
If you have some chalk that can be helpful to mark the area you are mending
Steps provided by @little_moth_mends
How is it made?

Step One
Place your darning mushroom or equivalent underneath the hole in your garment. Wrap the band around it to secure, ensuring it is not stretching the knitwear out of shape.

Step One
Place your darning mushroom or equivalent underneath the hole in your garment. Wrap the band around it to secure, ensuring it is not stretching the knitwear out of shape.

Step Two
Thread your needle with approximately an arm’s length of wool and insert it from the right side of the fabric, coming out where you would like your first stitch to start, at least a couple of centimetres away from the damaged area. Pull the wool through, leaving a tail of approximately 10cm. There’s no need to make a knot at the end.

Step Three
Work running stitches in parallel rows until you are approximately 1cm away from the hole.

Step Four
When you are 1cm away, make long stitches to cover the hole. Continue with running stiches at either end of the row until you have covered the hole. You can change colour at the end of a row by taking the old wool away from the work, threading your needle with the new wool, and continuing with the next row. When you are about 1cm away from the hole, make long stitches over it.

Step Five
Complete a couple of extra rows of running stitch to ensure it is even on both sides. When you reach the final stitch, take the wool away from the work. We are now going to weave the stitches we have made. Firstly, thread your needle with an
arm’s length of wool.

Step Six
Insert your needle at the base of your darn in the middle of your first row of running stitch. Pull the needle through, leaving a 10cm tail as before.
Work running stitch until you reach your first long stitch. Weave the needle over and under the bars of your stitches. When you reach the end of the long stitches, secure with a running stitch. You can do as many running stitches as you like, or just the one to secure the row.

Step Seven
Weave back the other way. Where you previously went under, now go over the long stitches to give a basket weave effect. Secure with a stitch, keeping the rows as close together as possible. Be sure to anchor the weaving at either end with a stitch, or as many running stitches as you like. When all the long stitches
are woven, the first half of the darn is complete!

Step Eight
To weave the other half of the darn, start in the middle as before, make a stitch and then start weaving as close to the centre as possible. Continue as before until the area is woven and the darn is
complete.
Undo the band and remove your knitwear from the mushroom.

Step Nine
To secure the darn, turn your work over, or make it inside out, and pull through any loose ends to the wrong side. You may need to use your needle to thread them through to the wrong side.

Step Ten
Thread your needle with the loose ends and weave under and over two or three stitches on the back of your work. Snip them off to a couple of centimetres.